Introduction
A damaged Apple Watch screen doesn’t have to mean disaster. With the right knowledge and tools, you can replace your Apple Watch screen yourself, saving money and extending the life of your device. This guide provides detailed instructions on how to perform this task effectively.
Understanding Apple Watch Screen Damage
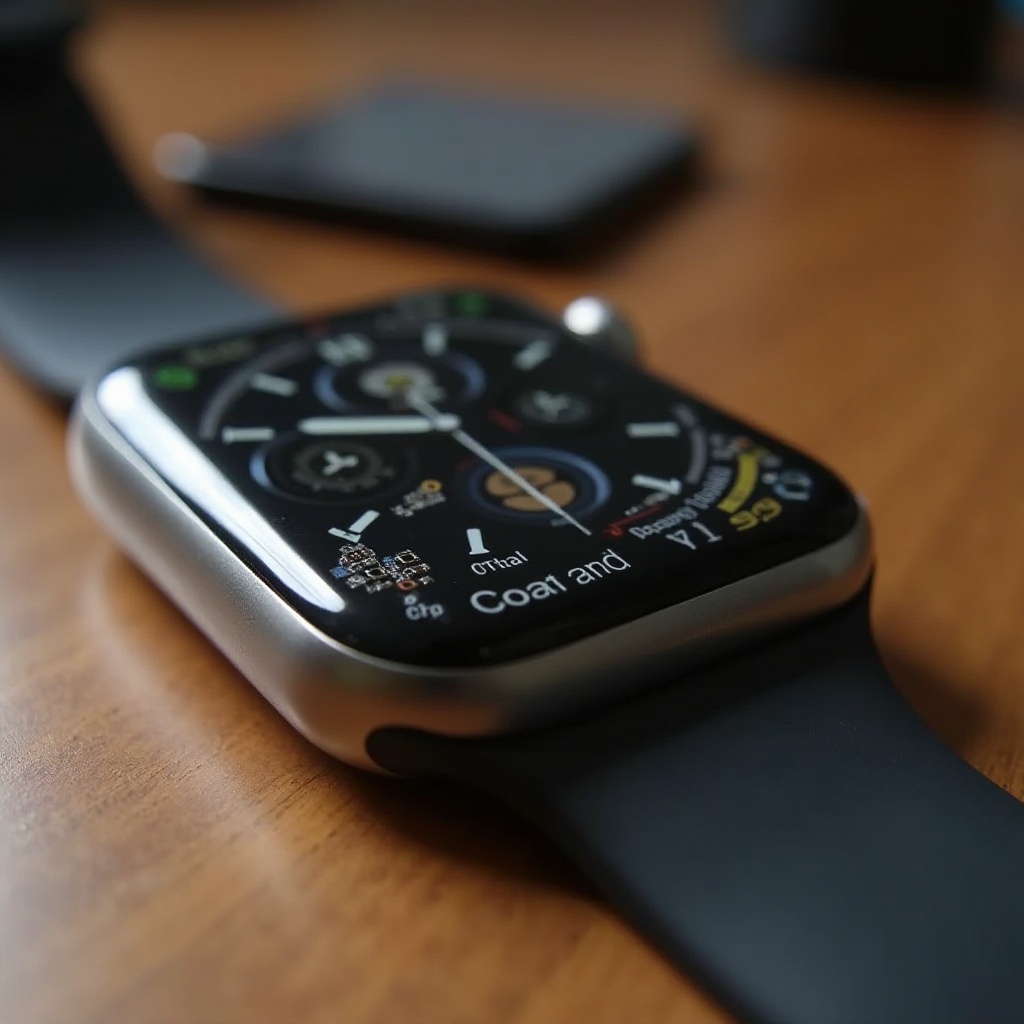
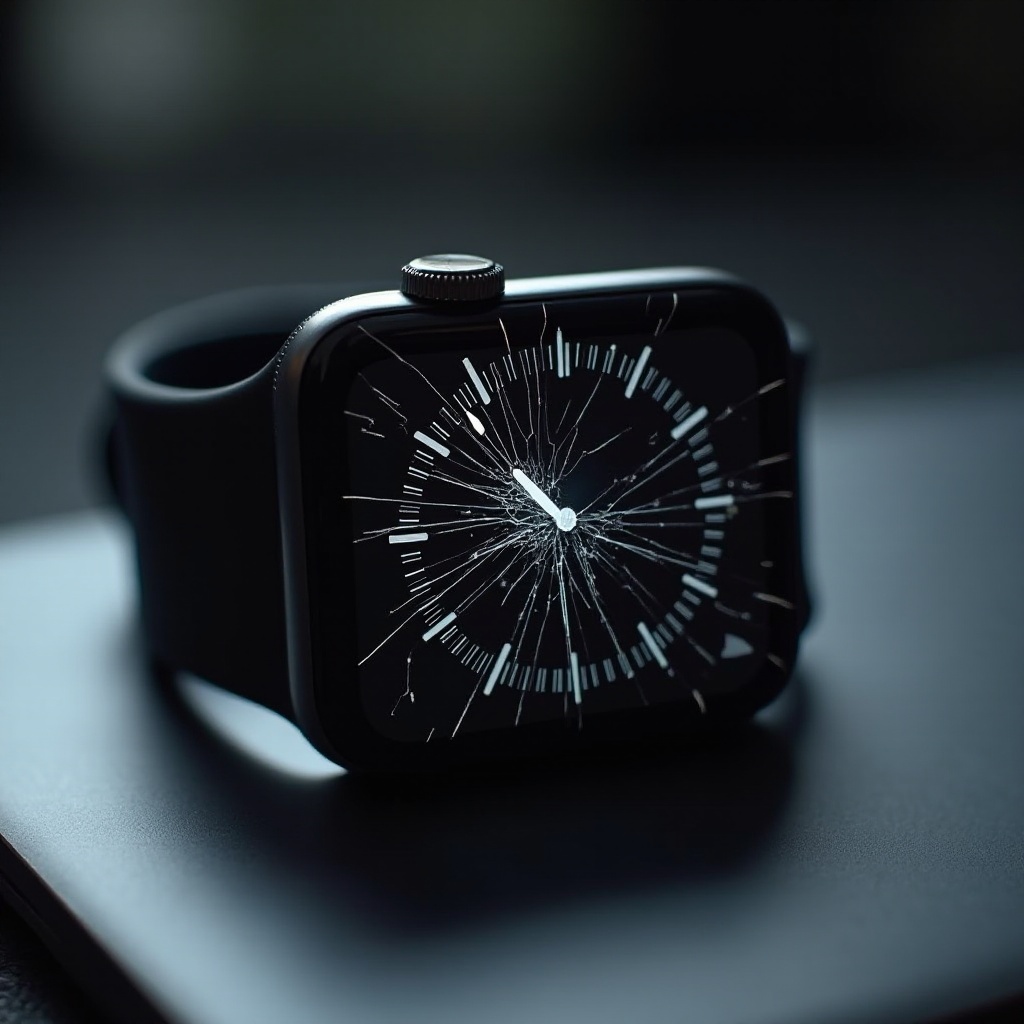
Apple Watch screens can encounter several issues over time, including scratches, cracks, and touch sensitivity problems. These damages not only affect the aesthetics but can also interfere with the functionality of your watch. Knowing the signs of screen damage, like visible cracks or decreased touch sensitivity, can help you assess when it’s necessary to replace the screen.
Finding out exactly what type of damage has occurred guides the approach to either repair or replacement. This understanding is essential before deciding whether a DIY repair is feasible or if professional services are warranted.
Assessing Whether DIY or Professional Repair is Right for You
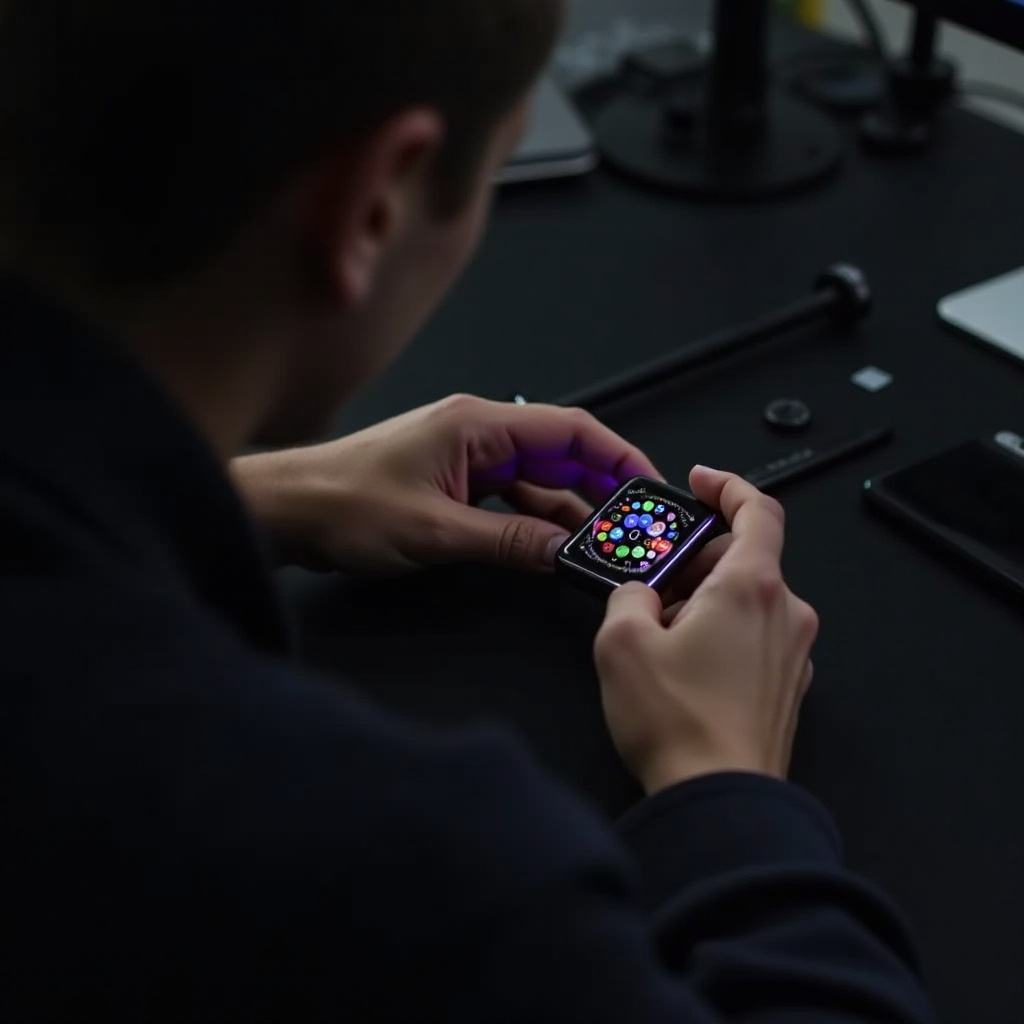
Choosing between a DIY screen replacement and hiring a professional can be challenging. Cost is often a significant factor; a DIY approach is generally more budget-friendly but requires a certain level of technical skill and patience.
If you feel confident in handling small electronics and have the required tools, DIY is a viable option. However, if the thought of replacing a screen is daunting or the damage seems severe, opting for professional help might be best. Weigh your skills and available resources carefully before proceeding.
Tools and Materials Needed for Apple Watch Screen Replacement
Having the right tools and materials is crucial for a successful screen replacement. Here is what you’ll need:
- Small Phillips screwdriver
- Prying tool or opening picks
- Tweezers
- Small suction cup
- Replacement Apple Watch screen
- Adhesive strips for the new screen
These items can be found at electronics stores or online, and purchasing quality tools ensures ease and precision. With your toolkit ready, proceed by preparing your Apple Watch and workspace for the procedure.
Preparing for the Screen Replacement
Preparation is key to a smooth repair process. Follow these steps to get everything ready:
- Backup Your Data: Sync your Apple Watch data with your iPhone to prevent data loss during the repair.
- Power Down Your Device: Ensure your watch is completely off to avoid any electrical accidents.
- Organize Your Workspace: Use a clean, well-lit area and organize your tools for easy access. This setup reduces errors and streamlines the process.
- Ground Yourself: Discharge static electricity by touching a grounded metal object to protect the device’s electronics.
Step-by-Step Apple Watch Screen Replacement Process
Now that everything is set, carefully follow these steps to replace your Apple Watch screen:
Removing the Old Screen
- Gently attach a small suction cup near the edge of the screen to lift it.
- Insert an opening pick beneath the screen to loosen it carefully.
- Detach the adhesive securing the screen to the watch casing.
- Slowly raise the screen to expose the connectors.
Installing the New Screen
- Disconnect the old screen’s connectors using tweezers with care.
- Align the new screen and carefully attach its connectors to the watch body.
- Place the screen and secure it firmly with adhesive strips.
- Use the Phillips screwdriver to ensure the screen is fastened securely.
Tips to Avoid Common Mistakes
- Handle components delicately to prevent damage.
- Ensure connectors are correctly aligned before sealing.
Once the new screen is installed, the next phase involves testing to verify everything is functioning correctly.
Testing the New Screen
Testing is vital to confirm the success of your screen replacement. Follow these steps to ensure everything is in order:
- Power on the Apple Watch.
- Navigate through menus to check touch functionality.
- Inspect for any display issues such as dead pixels.
- Reevaluate connectors and installation steps if problems persist.
Completing these checks ensures your Apple Watch operates smoothly with its newly installed screen. Now, let’s consolidate what we’ve covered.
Conclusion
You’ve now mastered the art of replacing an Apple Watch screen, demonstrating that DIY repairs are possible with the right guidance. Regular maintenance and careful handling can help prevent future damage and keep your watch in top condition. Remember, practice makes perfect, so continue honing your skills on future electronic repairs.
Frequently Asked Questions
How long does it take to replace an Apple Watch screen?
Replacing an Apple Watch screen usually takes around 30 to 60 minutes, depending on your experience and familiarity with the process.
Can a cracked Apple Watch screen be fixed without replacement?
Minor scratches might be polished, but severe cracks typically require a full screen replacement to restore full functionality.
Is it worth replacing an Apple Watch screen myself?
If you’re confident with handling electronics and have the right tools, a DIY replacement can be cost-effective compared to professional repairs.