Introduction
Repairing a broken RCA connector for a backup camera might seem like a daunting task, but with the right guidance, it can be achievable even for a novice. An RCA connector plays a crucial role in transmitting video signals from the camera to the display unit. A broken connector can lead to a loss of video feed, thus compromising the safety and functionality of your vehicle’s backup system. This article will provide you with a step-by-step guide on diagnosing, removing, and replacing a damaged RCA connector. By the end of this guide, you should have a working backup camera system and the confidence to tackle similar issues in the future.
Tools and Materials Needed
Before diving into the repair process, gather all the necessary tools and materials to ensure a smooth workflow. Here is a list of what you’ll need:
- Replacement RCA connectors: Ensure they match the specifications of the original connectors.
- Screwdrivers: A set of different-sized screwdrivers will be handy for accessing various parts.
- Wire strippers: Essential for removing insulation from the wires.
- Soldering iron and solder: A must for making secure electrical connections.
- Heat shrink tubing: To insulate and protect the newly soldered connections.
- Multimeter: To diagnose electrical continuity and check for shorts.
Having these tools and materials ready will streamline the repair process and increase the likelihood of a successful outcome.
Safety Precautions
While working with electronic components, it’s crucial to follow safety precautions to prevent accidents or further damage. Here are some tips:
- Disconnect the battery: Before starting any repair, disconnect the vehicle’s battery to avoid electrical shock or short circuits.
- Work in a well-ventilated area: Soldering can produce fumes that are harmful if inhaled. Make sure your workspace is well-ventilated.
- Wear safety goggles and gloves: Protect your eyes and hands from potential hazards, especially when soldering.
- Avoid contact with hot soldering iron: Soldering irons can get extremely hot, so be cautious and avoid burns.
- Stay organized: Keep your workspace tidy to avoid losing small parts and to ensure a smooth repair process.
Following these safety precautions will minimize risks and ensure your repair goes off without a hitch.
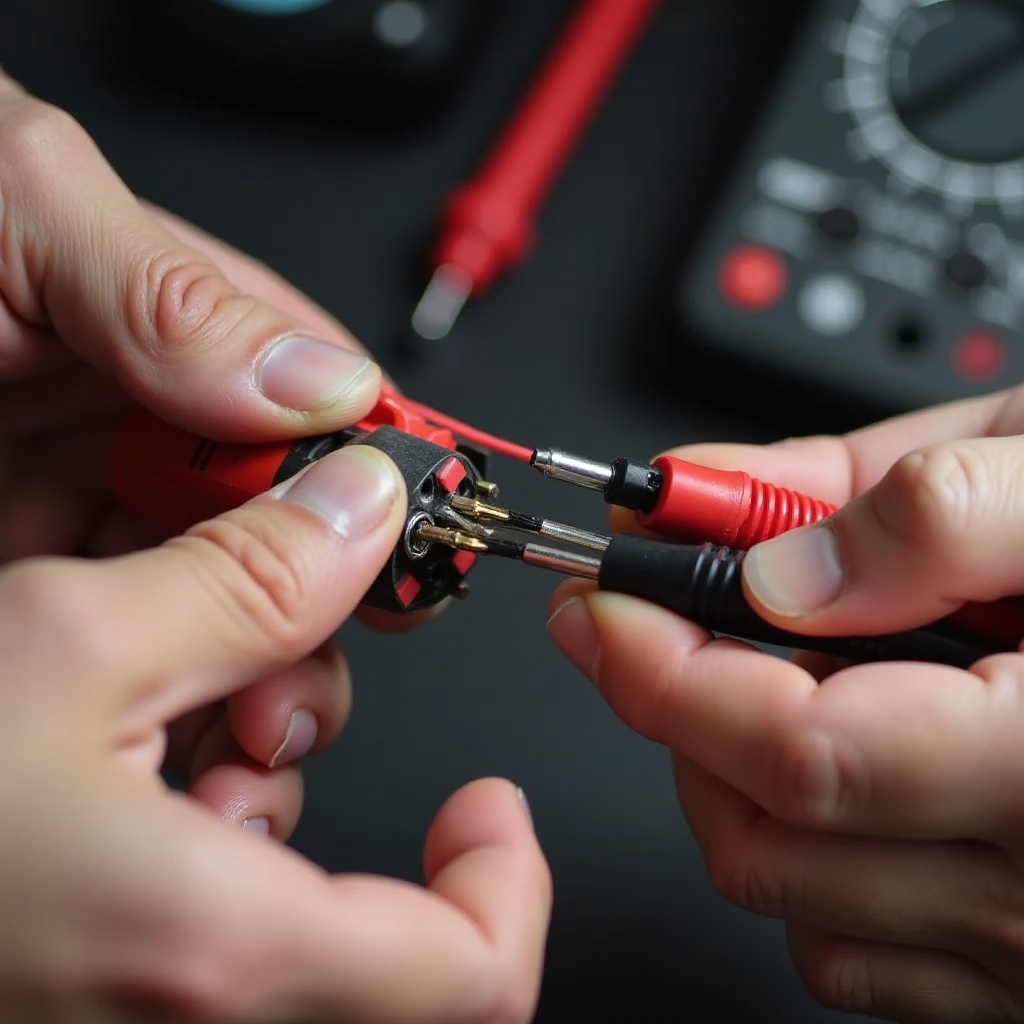
Diagnosing the Issue
Before proceeding with the repair, it’s essential to diagnose the problem accurately, ensuring that the issue lies with the RCA connector. Here’s how to do it:
- Visual inspection: Check for visible damage, such as frayed wires, broken connectors, or corrosion.
- Use a multimeter: Set the multimeter to test continuity. Place the probes on the RCA connector terminals to check if the circuit is complete. If there’s no continuity, the connector is likely faulty.
- Check connections: Ensure all connections are secure and free from dirt or debris.
- Test the backup camera: Temporarily connect the camera to a known working RCA connector. If the camera works, the issue is with the original connector.
Accurate diagnosis will confirm the problem and prevent unnecessary replacements.
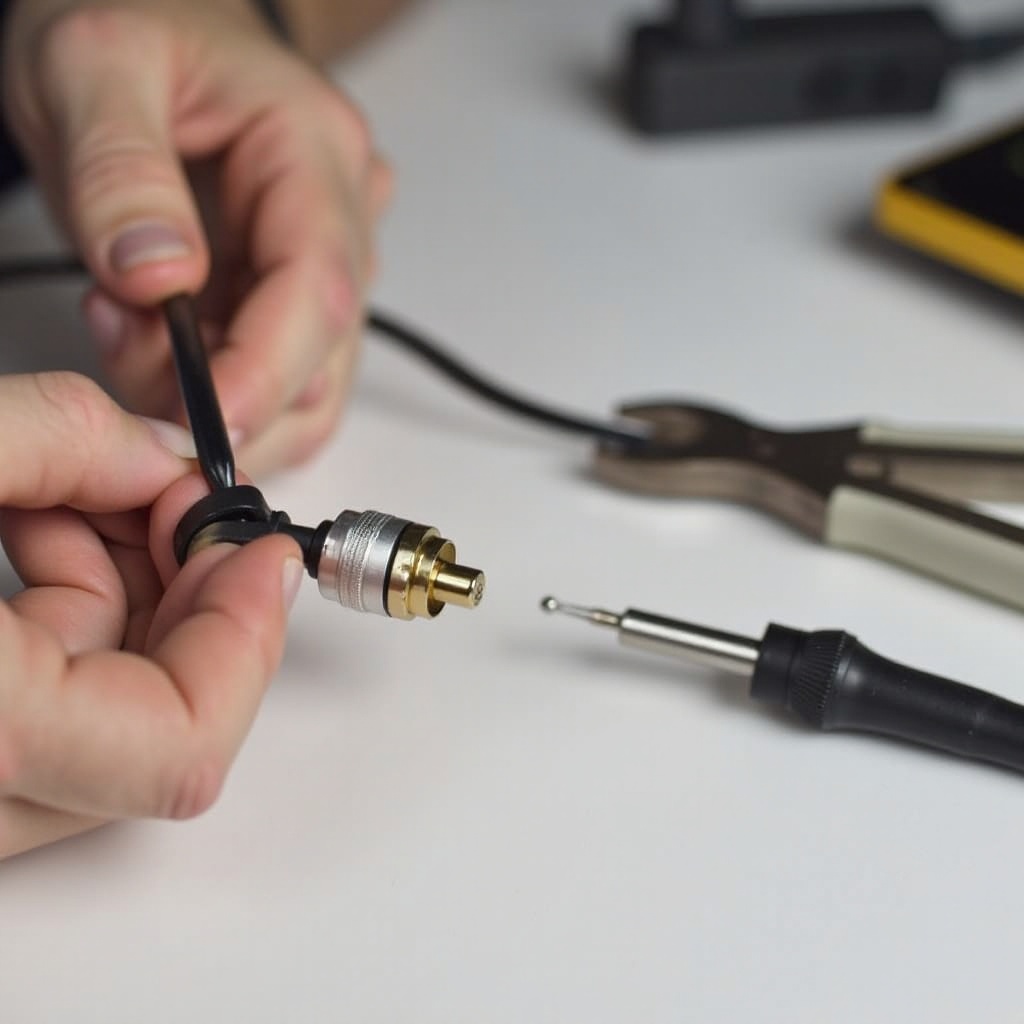
Removing the Damaged RCA Connector
Once you’ve confirmed the RCA connector is the issue, you can proceed with its removal. Follow these steps:
- Locate the connector: Identify the connector that’s causing the problem. It’s usually located near the camera or monitor.
- Disconnect the connector: Gently pull the connector apart, taking care not to damage the wires further.
- Cut the wires: Use wire cutters to snip the wires connected to the damaged RCA connector, leaving enough length to strip the insulation and connect a new one.
- Prepare the new connector: Remove any old solder or debris from the wires and the new connector’s terminals.
Removing the damaged connector is a straightforward task that paves the way for installing a new one.
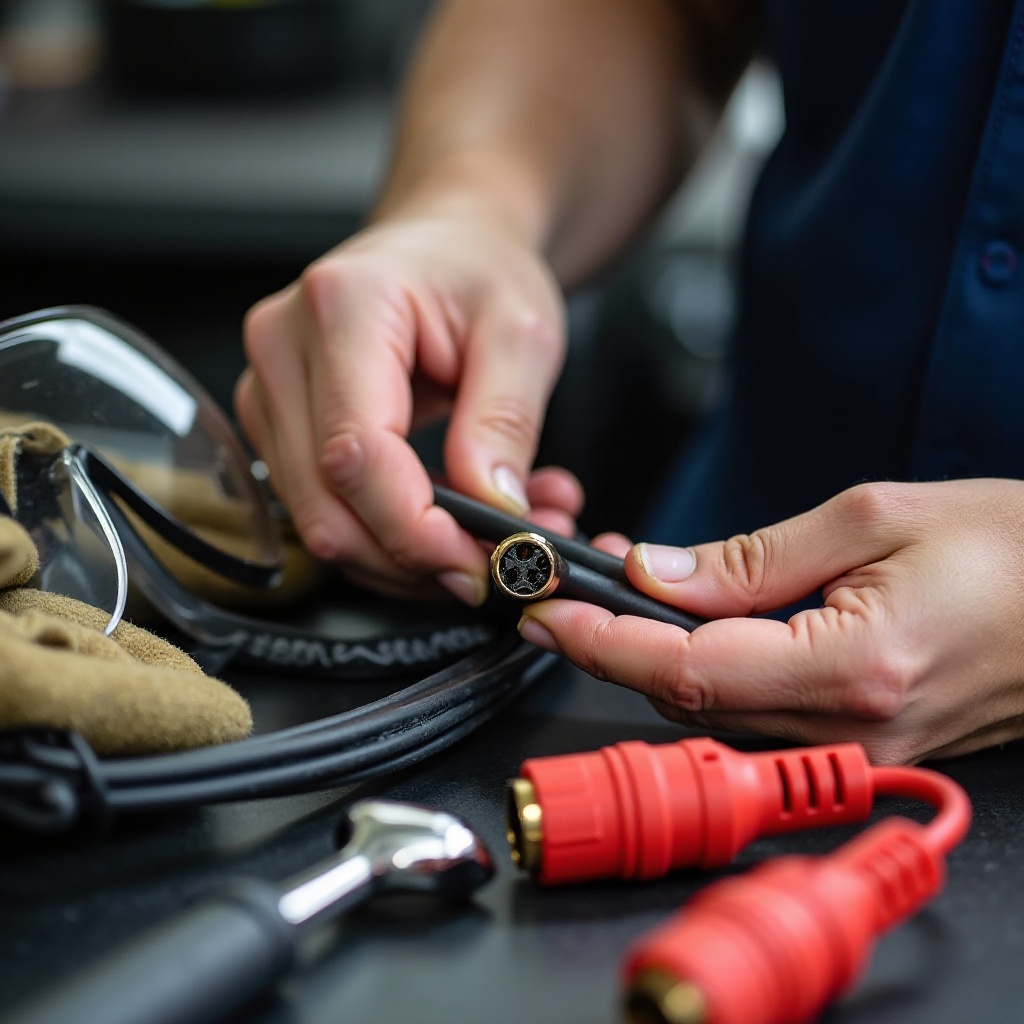
Preparing the Wires for the New Connector
With the damaged RCA connector removed, it’s time to prepare the wires for the new connector:
- Strip the insulation: Use wire strippers to remove about 1/2 inch of insulation from the ends of the wires, exposing the copper cores.
- Twist the strands: If the wires are stranded, gently twist the strands together to keep them from fraying.
- Tin the wires: Using a soldering iron and solder, coat the exposed wires with a thin layer of solder. This process, known as ‘tinning,’ ensures a better electrical connection.
Next, you should ensure the heat shrink tubing is ready for use.
- Prepare heat shrink tubing: Cut small pieces of heat shrink tubing and slide them onto the wires.
Properly prepared wires will ensure a secure and efficient connection with the new RCA connector.
Installing the New RCA Connector
Now that the wires are ready, you can install the new RCA connector:
- Attach the wires: Position the tinned wires onto the corresponding terminals of the new RCA connector. Refer to the connector’s wiring diagram if necessary.
Attaching the wires accurately ensures a strong base for the connection.
- Solder the connections: Use a soldering iron to heat the terminals and apply solder to create a secure bond between the wires and the connector.
- Inspect the joints: Ensure the solder joints are shiny and free from defects such as cold solder joints.
- Apply heat shrink tubing: Slide the heat shrink tubing over the soldered connections and use a heat source to shrink the tubing, providing insulation and protection.
- Secure the connector: If the connector requires assembly, reassemble it and make sure it’s secure.
With the new RCA connector installed, you’re ready to test the backup camera system.
Testing and Troubleshooting
After installing the new RCA connector, it’s crucial to test the system to ensure everything works correctly:
- Reconnect the battery: Reconnect the vehicle’s battery to restore power.
- Power on the system: Turn on the backup camera system to check if the video feed is functioning correctly.
- Check connections: Ensure all connections are secure and there is no intermittent signal loss.
- Troubleshoot if necessary: If the video feed is not working, double-check the continuity of the new connector using a multimeter and ensure all solder joints are solid.
Testing ensures your repair was successful and your backup camera is fully operational.
Conclusion
Repairing a broken RCA connector for a backup camera is a manageable task with the right tools, materials, and guidance. By following this comprehensive guide, you will restore your backup camera’s functionality, enhancing vehicle safety and usability. Always remember to follow safety precautions and accurately diagnose issues before proceeding with repairs.
Frequently Asked Questions
What common symptoms indicate a broken RCA connector?
Common symptoms include no video feed from the camera, intermittent signal loss, and visible damage such as frayed wires or corrosion on the connector.
Can I use any RCA connector for replacement?
No, it’s essential to use an RCA connector that matches the specifications of the original one to ensure proper functionality and fit.
How can I prevent my RCA connector from breaking in the future?
To prevent future issues, avoid excessive bending or pulling on the wires, use strain reliefs, and ensure connectors are secure and protected from moisture and corrosion.