Introduction
Your Xbox One’s performance depends significantly on a functional HDMI port, acting as the primary link between your console and display device. A malfunctioning HDMI port can disrupt this connection, leading to interruptions that affect your gaming and entertainment experience. This guide aims to empower you with clear, detailed instructions for diagnosing and fixing HDMI port issues on your Xbox One, even if you’re new to console repairs.
Understanding HDMI Port Issues
Before diving into repairs, it’s vital to recognize the symptoms of an HDMI port issue. Understanding these signs helps you identify the problem correctly.
Common Symptoms of HDMI Port Problems
You may notice problems like flickering video, no display output, or a sporadic connection. These symptoms usually indicate a defective HDMI port on your Xbox One.
Why Do HDMI Ports Fail on Xbox One?
HDMI ports can fail due to several reasons, such as physical damage from excessive force, dust accumulation, or internal electronic problems. Knowing these causes can guide preventive measures and aid in proper diagnosis.
Connecting your understanding of HDMI port failures will lay the groundwork for a successful repair.
Diagnosing HDMI Port Problems
Proper diagnosis is crucial before proceeding with any repair work. Initial checks can often resolve or clarify the nature of HDMI issues.
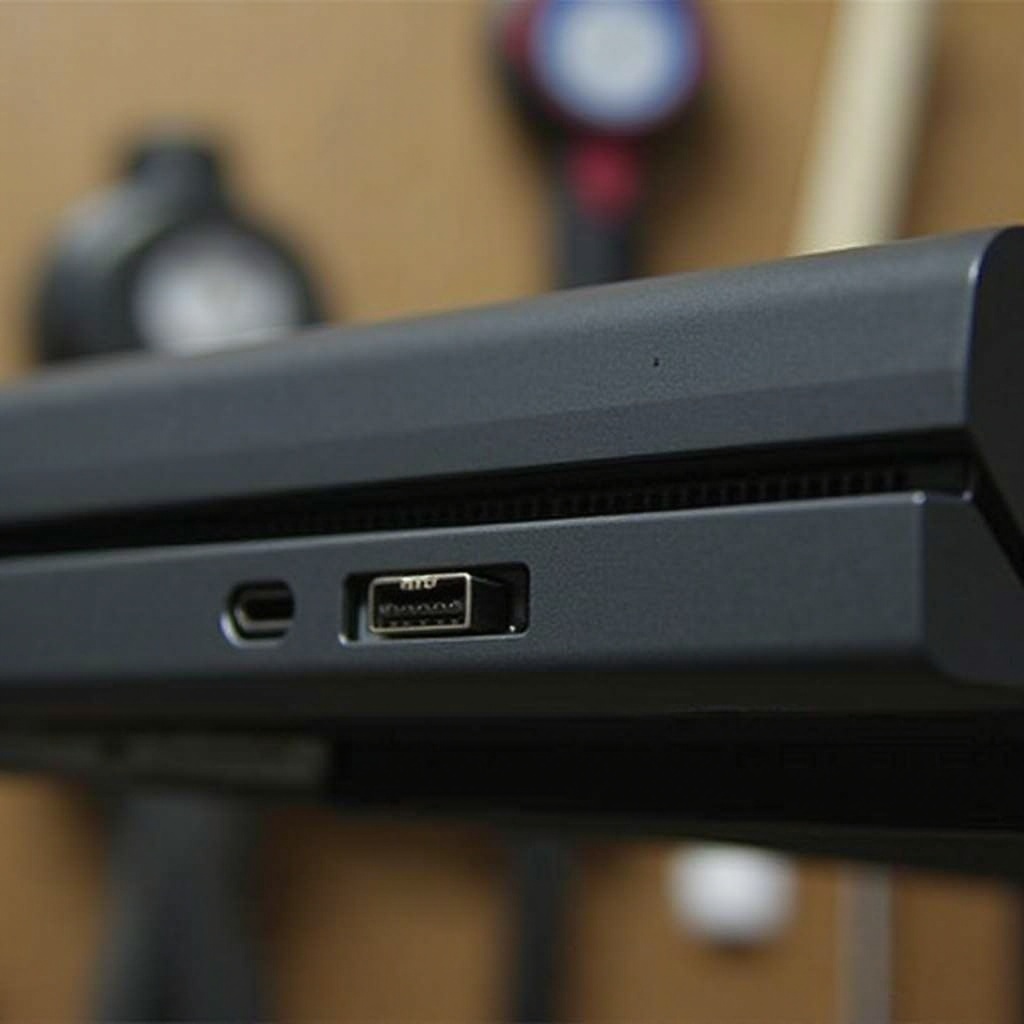
Checking HDMI Cable and Connections
- Confirm that the HDMI cable is securely connected at both ends, to your Xbox and your TV.
- Swap with a different HDMI cable to rule out cable issues.
- Connect the HDMI cable to another device to ensure it’s functioning.
Initial Console Tests for HDMI Issues
- Restart your Xbox One to see if the problem self-corrects.
- Test the Xbox with another monitor or TV. This helps determine if the problem lies with the console or the display.
These preliminary steps ensure you address external causes of HDMI problems before any internal work is performed.
Preparing for the Repair
Successfully repairing your HDMI port involves careful preparation. You’ll need the right tools and a safe setup.
Tools and Materials Needed
Ensure you have a Torx screwdriver, pry tool or spudger, soldering iron (if you’re replacing the port), and possibly a new HDMI port if a replacement is necessary.
Setting Up a Safe Workspace
- Select a clean, well-lit area with a stable surface.
- Use an anti-static mat to protect electronic components from static damage.
- Arrange your tools neatly for easy access during the repair.
Proper preparation facilitates a smooth and safe repair process, ensuring all necessary resources are at hand.
Step-by-Step HDMI Port Repair Process
With preparation complete, you can now perform the repair. This section guides you from disassembly to reassembly.
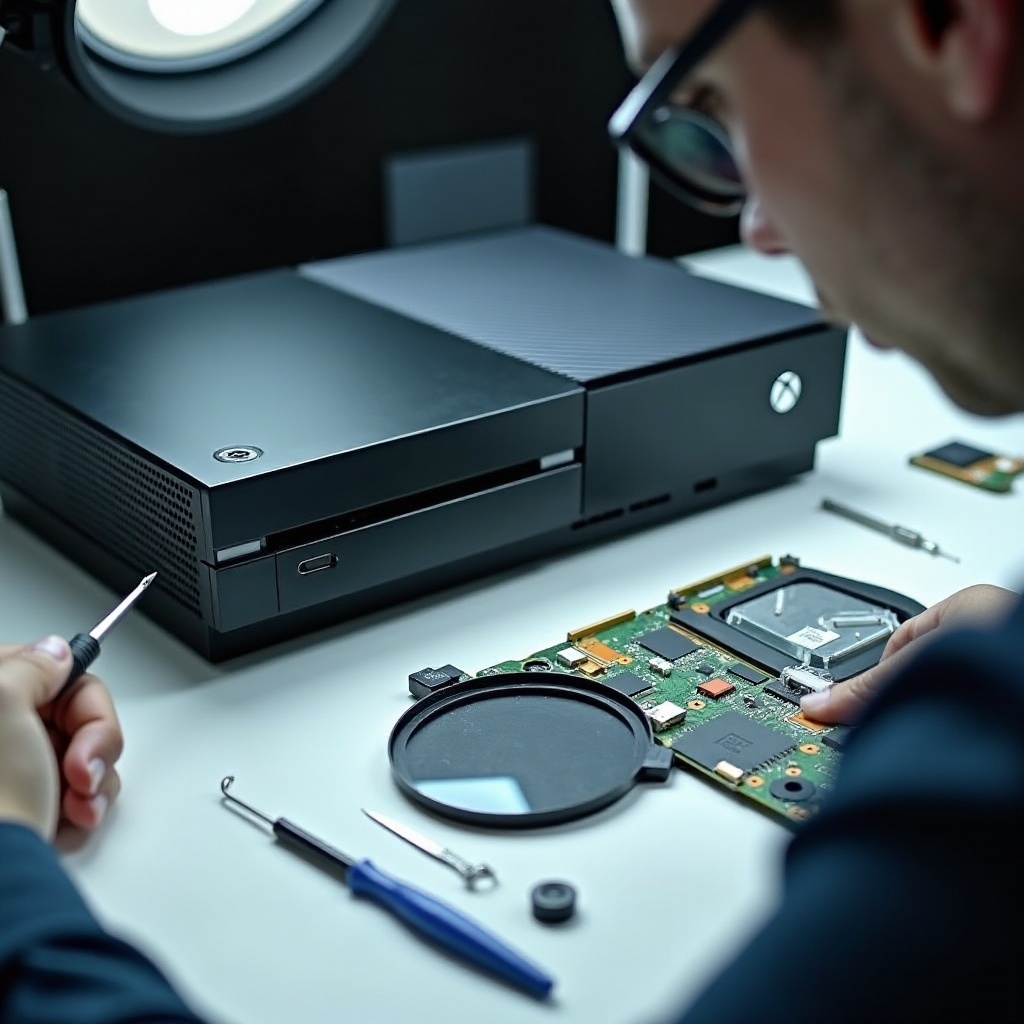
Disassembling Your Xbox One Console
- Disconnect all cords and accessories from the Xbox.
- Use a Torx screwdriver to remove the screws on your Xbox casing.
- Gently pry open the casing to expose internal components.
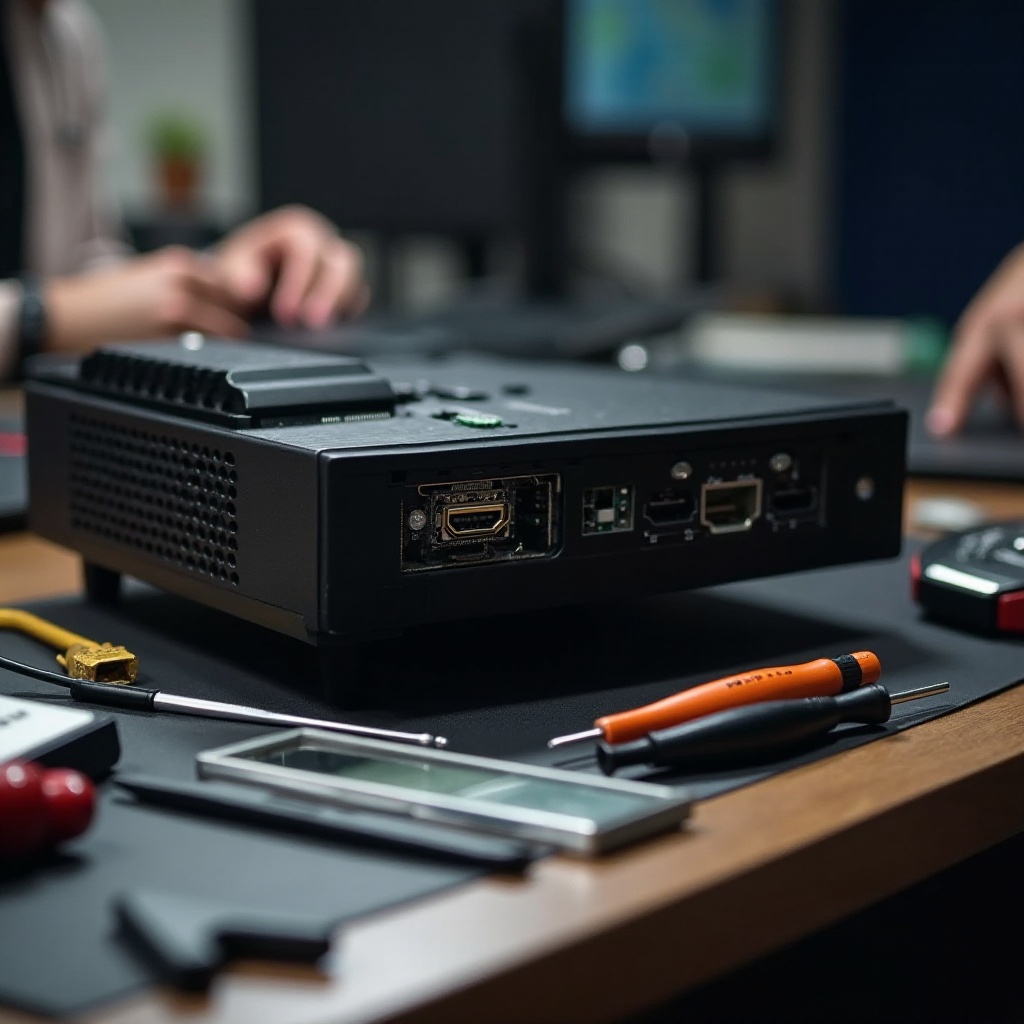
Locating and Assessing the HDMI Port
- Identify the motherboard where the HDMI port is located.
- Check the port for visible damage, such as bent pins or debris.
Removing the Faulty HDMI Port
If the port is compromised:
1. De-solder the defective HDMI port carefully with a soldering iron.
2. Gently remove the port, ensuring no adjacent components are disturbed.
Installing a New HDMI Port or Repairing the Existing One
- Position the new HDMI port accurately on the motherboard.
- Secure the port by soldering, ensuring all connections are firm.
- Reassemble the Xbox by reversing the disassembly steps, ensuring all parts are screwed and snapped back into place.
This step-by-step guide equips you with the knowledge to repair or replace the HDMI port efficiently, reinstating your console’s functionality.
Testing and Maintaining Your Xbox One Post-Repair
Once repairs are completed, thorough testing and ongoing maintenance are vital to ensure your Xbox’s longevity.
Verifying the Repair Success
- Reattach the Xbox to your TV using the HDMI connection.
- Power on the console, checking for a stable display signal.
Best Practices for Long-term Maintenance
- Select high-quality HDMI cables to prevent wear and damage.
- Clean the console periodically to prevent dust from accumulating in ports.
- Avoid undue strain on HDMI connections by connecting and disconnecting cables carefully.
Following these maintenance tips will help prolong the life of your HDMI port and, by extension, your Xbox One.
Conclusion
Repairing the HDMI port on your Xbox One is a practical skill that can save you money and time. With the guidance of this article, you have learned how to identify, diagnose, and repair HDMI port issues, restoring your gaming experience. Utilize this guide for any future repairs, ensuring your console remains in optimal condition so you can focus on what matters most—enjoying your games.
Frequently Asked Questions
Is it cheaper to repair or replace the HDMI port on my Xbox One?
Repairing is often more cost-effective, though costs vary if done professionally.
How can I prevent HDMI port damage in the future?
Use high-quality cables and handle connections carefully to avoid physical stress.
When should I consult a professional for HDMI port repair?
Consider professional help if you’re unsure of DIY repairs or if there’s extensive damage.